2012年03月16日
MP7 Takedown
私たちのブログを訪問していただきありがとうございます。あなたがお持ちの場合DIYの要求は私達に電子メールを送信してください。
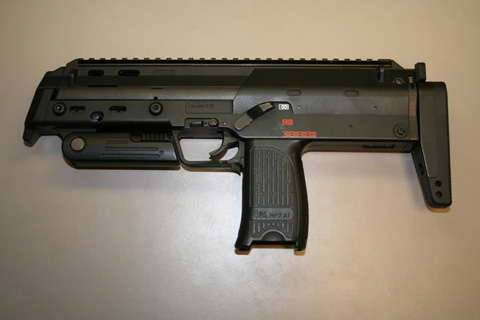
We're going to disassemble like this...

...from this. Note that it's not necessary to remove the flash hider and side rails for this, mine were simply removed already. You'll need to remove the sights if they're in the way of the top rail screws.
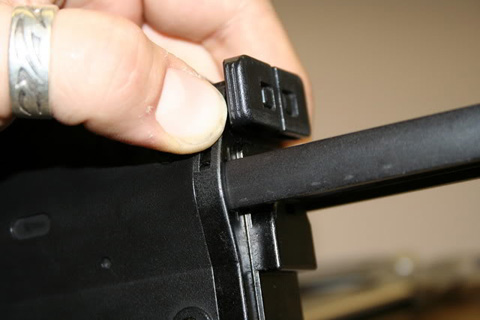
Start by removing the stock. Pull both catches up and slide the stock out and free. Take the front set off too
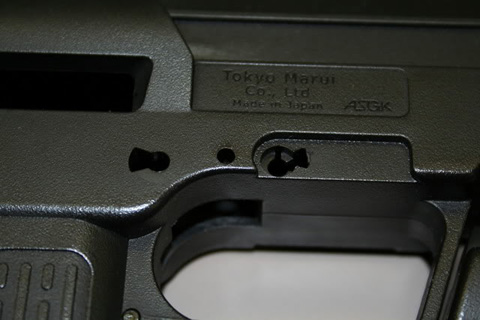
Next take the top rail off. The screw above the selector is a dummy, don't remove it. The longest screw goes in front; keep this in mind when you reinstall the rail later.

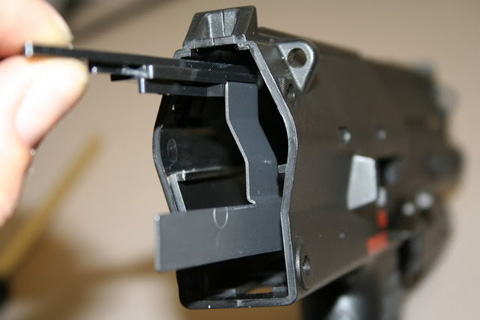
Pop the charging handle return spring off using a small tool and set it aside...

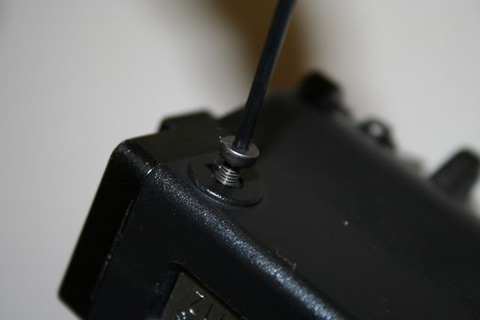
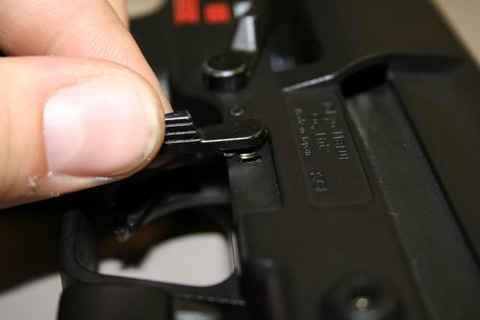
Remove the charging handle retaining screw next. You may also remove the charging handle at this time

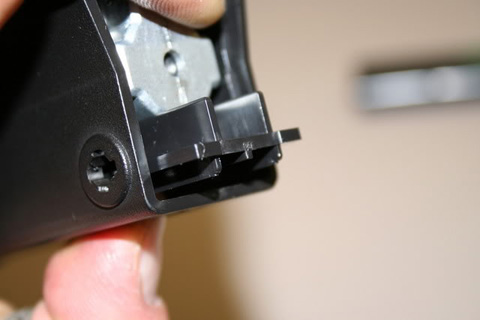
Now remove the body pin screws
And then push out the body pins
The end cap will be free now. Remove it and set it aside

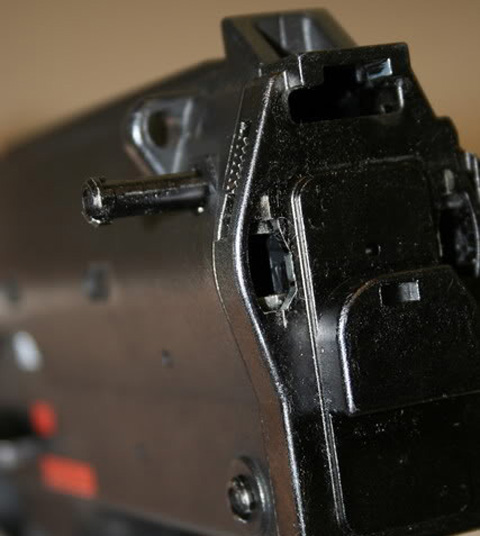
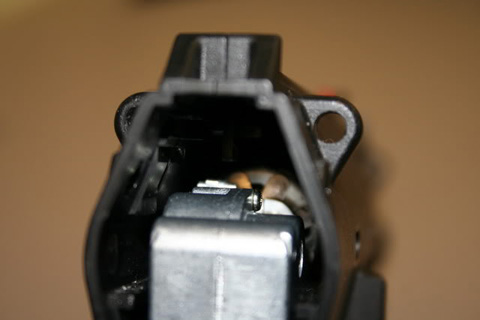
Here's the inside view at this point. You can see the back of the gearbox

The next step is to remove the serial number plate. It just slides out
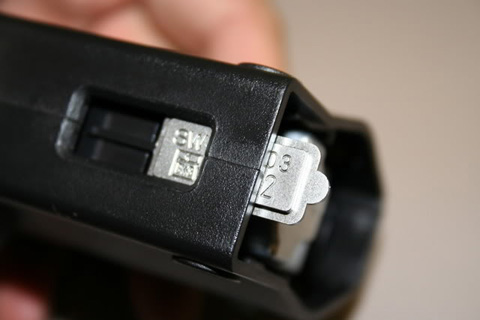
You may then remove the gearbox retainer shim. The gearbox will slip down a bit after this is removed
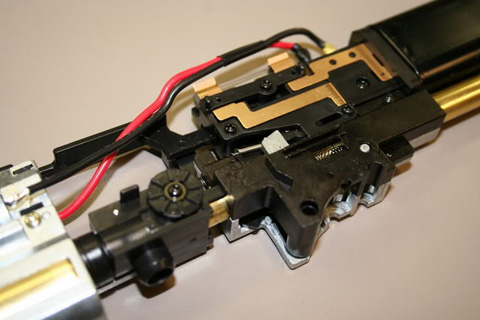
Look above the gearbox and note the semi-auto cutoff lever actuator arm and its connection to the semi-auto cutoff lever. You'll need to get this back correctly when reassembling the gun or you will not be able to switch to auto
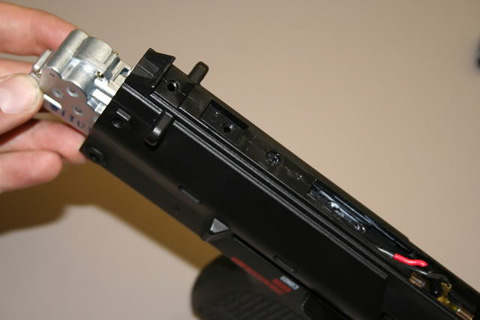
Now pull the gearbox out of the back. You'll need to disconnect the wires first of course; they need to be fed through the slot in the top as you remove the gearbox
When putting the gearbox back in you'll need to use a small tool to pull the wires back up

Here's the gearbox. It really is very small

The inner barrel assembly can now be removed. It'll just slide out

Here's the hop up unit as viewed from the left side

and the bottom

and the right

and the top

and the back

Now is a good time to remove the 'bolt'. Slide it back as far as you can

Press down on the part towards the top

Here's another view. Pressing this down will allow it to come free of the track inside

It can then be pulled out the back
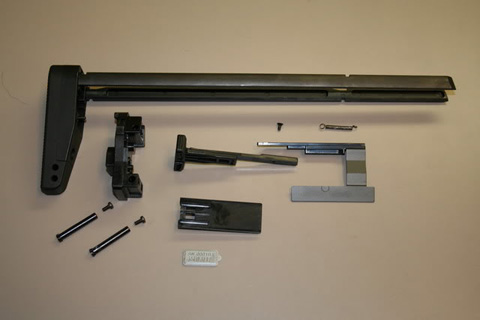
Here are all the rear set components
Now it's time to take out the selector lever, trigger, and bolt release so the switch assembly can be removed. Start by pushing out the bolt catch spring pin. Don't lose it! Pull the lever off and set is aside as well

Now pull out the lever very carefully, pay attention to the spring's position
You can see the hooked part catches the post in the lever and the straight part fits into a notch in the hole

Now push out the trigger pin. Don't force it; it's designed to go one way. If it feels tough try pushing from the other side. You can see in this pic the side that should come out first has grooves in it

With the pin removed the trigger is free. I was worried that the trigger would be a nightmare to get in and out but it's fairly easy
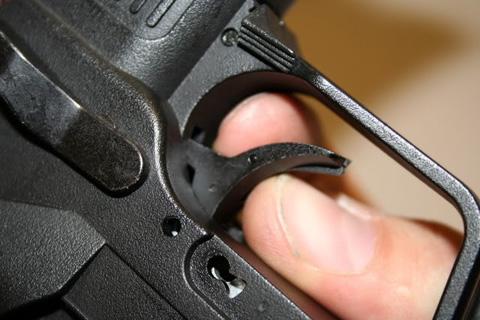
Just pull it forward and out. Pay attention to the spring as you do this so you have an idea how to get it back. It's basically the reverse of removing it

Next knock out the selector lever spring pin and remove the selector lever. Set it aside in a safe place along with the lever parts

Here's the left side of the body with the bolt release, trigger, and selector components removed

And here's the right side
These are all the components that were just removed

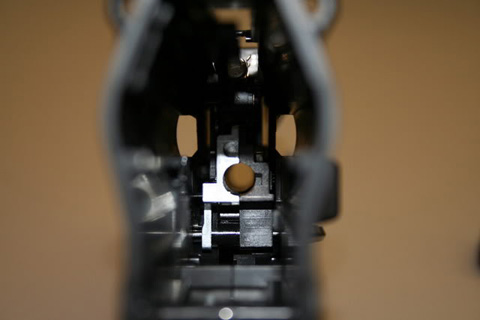
Looking in the back, the switch assembly can be seen. Carefully remove it from the gun using tools to poke at it from the front if need be. It's held in position by rails and can be tricky to get back in place. Just take your time and poke at it through available holes. You'll get it
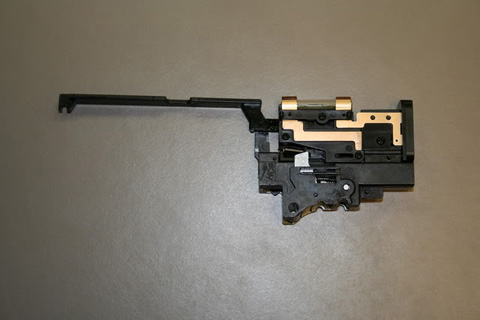
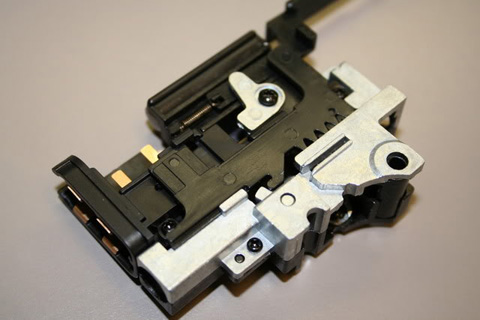
Here's the right side of the switch assembly
And the left

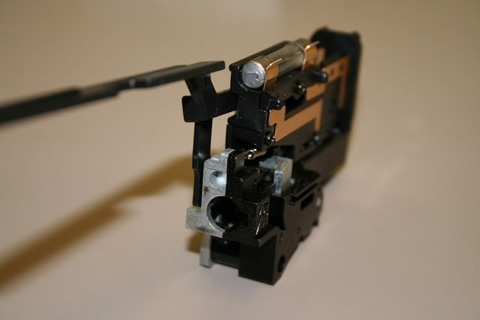
Another look. You can see the battery connector in the front

The fuse is rated at 10A if you were curious. The gearbox must not be very demanding

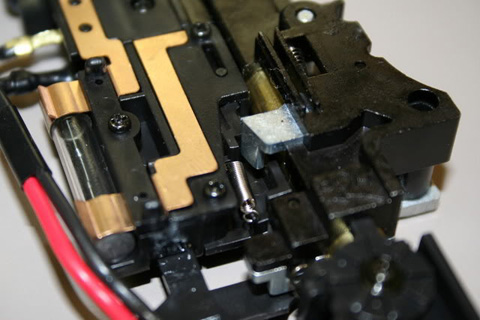
Here you can see where the barrel goes though the assembly
Here are all the major internal components

Here they are as they would be inside the gun when assembled as viewed from the left side

and the right

This is the connection between the semi-auto cutoff lever actuator arm and the actual semi-auto cutoff lever that was mentioned earlier

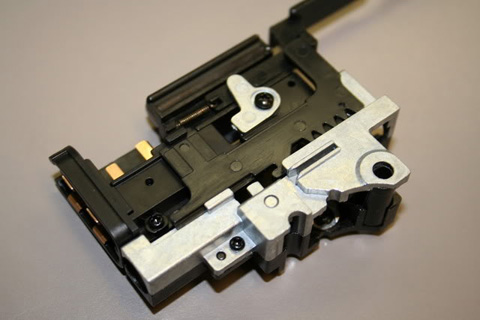
Close up on the left side of the switch assembly

And the here's the right side
This is the bottom; you can see some of the trigger mechanism

Here you can see some more of the trigger mechanism
This is what the selector mechanism looks like on safe
This is semi. It's a small difference
On auto the selector plate pushes against the cutoff lever actuator arm which disengages the cutoff lever in the gearbox

Here's a look deep inside the gutted body. There are still a few bits in there but there's no need to remove them

And now more shallow look

A view from the front

NEWS ARCHIVES

We're going to disassemble like this...

...from this. Note that it's not necessary to remove the flash hider and side rails for this, mine were simply removed already. You'll need to remove the sights if they're in the way of the top rail screws.

Start by removing the stock. Pull both catches up and slide the stock out and free. Take the front set off too

Next take the top rail off. The screw above the selector is a dummy, don't remove it. The longest screw goes in front; keep this in mind when you reinstall the rail later.

Pop the charging handle return spring off using a small tool and set it aside...

Remove the charging handle retaining screw next. You may also remove the charging handle at this time

Now remove the body pin screws

And then push out the body pins

The end cap will be free now. Remove it and set it aside

Here's the inside view at this point. You can see the back of the gearbox

The next step is to remove the serial number plate. It just slides out

You may then remove the gearbox retainer shim. The gearbox will slip down a bit after this is removed

Look above the gearbox and note the semi-auto cutoff lever actuator arm and its connection to the semi-auto cutoff lever. You'll need to get this back correctly when reassembling the gun or you will not be able to switch to auto

Now pull the gearbox out of the back. You'll need to disconnect the wires first of course; they need to be fed through the slot in the top as you remove the gearbox

When putting the gearbox back in you'll need to use a small tool to pull the wires back up

Here's the gearbox. It really is very small

The inner barrel assembly can now be removed. It'll just slide out

Here's the hop up unit as viewed from the left side

and the bottom

and the right

and the top

and the back

Now is a good time to remove the 'bolt'. Slide it back as far as you can

Press down on the part towards the top

Here's another view. Pressing this down will allow it to come free of the track inside

It can then be pulled out the back

Here are all the rear set components

Now it's time to take out the selector lever, trigger, and bolt release so the switch assembly can be removed. Start by pushing out the bolt catch spring pin. Don't lose it! Pull the lever off and set is aside as well

Now pull out the lever very carefully, pay attention to the spring's position

You can see the hooked part catches the post in the lever and the straight part fits into a notch in the hole

Now push out the trigger pin. Don't force it; it's designed to go one way. If it feels tough try pushing from the other side. You can see in this pic the side that should come out first has grooves in it

With the pin removed the trigger is free. I was worried that the trigger would be a nightmare to get in and out but it's fairly easy

Just pull it forward and out. Pay attention to the spring as you do this so you have an idea how to get it back. It's basically the reverse of removing it

Next knock out the selector lever spring pin and remove the selector lever. Set it aside in a safe place along with the lever parts

Here's the left side of the body with the bolt release, trigger, and selector components removed

And here's the right side

These are all the components that were just removed

Looking in the back, the switch assembly can be seen. Carefully remove it from the gun using tools to poke at it from the front if need be. It's held in position by rails and can be tricky to get back in place. Just take your time and poke at it through available holes. You'll get it

Here's the right side of the switch assembly

And the left

Another look. You can see the battery connector in the front

The fuse is rated at 10A if you were curious. The gearbox must not be very demanding

Here you can see where the barrel goes though the assembly

Here are all the major internal components

Here they are as they would be inside the gun when assembled as viewed from the left side

and the right

This is the connection between the semi-auto cutoff lever actuator arm and the actual semi-auto cutoff lever that was mentioned earlier

Close up on the left side of the switch assembly

And the here's the right side

This is the bottom; you can see some of the trigger mechanism

Here you can see some more of the trigger mechanism

This is what the selector mechanism looks like on safe

This is semi. It's a small difference

On auto the selector plate pushes against the cutoff lever actuator arm which disengages the cutoff lever in the gearbox

Here's a look deep inside the gutted body. There are still a few bits in there but there's no need to remove them

And now more shallow look

A view from the front

NEWS ARCHIVES


Dura Coat Finishes
P90 Disassembly
MP5K Disassembly
H&K UMP Gearbox ver. 3
M4A1 AEG Disassembly
Gearbox Reassembly
P90 Disassembly
MP5K Disassembly
H&K UMP Gearbox ver. 3
M4A1 AEG Disassembly
Gearbox Reassembly
Posted by echigoyaworks
at 12:10
│DIYs

