2011年12月27日
Haleystrategic: SCAR
私たちのブログを訪問していただきありがとうございます。あなたがお持ちの場合DIYの要求は私達に電子メールを送信してください。

The Haley Strategic training team has employed the FN Herstal SCAR(MK16, MK17) platform for over a year in our internal exercises as well as classes. Talking through his personal setups and the different weapon manipulation considerations that drives them, Travis Haley covers stock and advanced set-ups, utilizing rail extensions to modify the ergonomics and deliver faster performance in high risk situations.
NEWS ARCHIVES

2011年12月27日
Costa & Travis uses M870 in Dynamic Shotgun
私たちのブログを訪問していただきありがとうございます。あなたがお持ちの場合DIYの要求は私達に電子メールを送信してください。
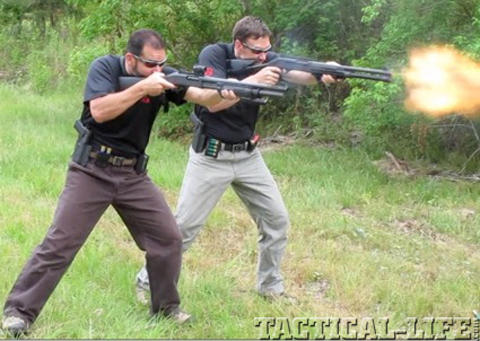
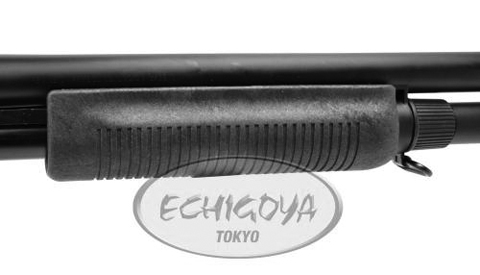
Maruzen M870 BV Pump Action Shell Eject Shotgun
ABS / Metal Construction
Realistic operation with Pump-Action Shell Ejecting mechanism
3 Shells included, each shell hold 1-5 6mm Pellets
Detachable Gas Tank System located inside the Buttstock
Fun to play around with this master pieces from Maruzen
Notes: More power you could get when less bullet loaded into shell, we recommend hold 3 bullets into each shell for best performance


NEWS ARCHIVES
2011年12月27日
Real PMAG Conversion to Airsoft Magazine
私たちのブログを訪問していただきありがとうございます。あなたがお持ちの場合DIYの要求は私達に電子メールを送信してください。

Following is the step by step process on how we convert a real PMAG magazine to fit into an airsoft AEG specifically the recoil shock series. By using the internals of a Tokyo Marui magazine and months of trial and error we were able to accomplish the task… Mission Impossible? Not in our shop!
The Real PMag

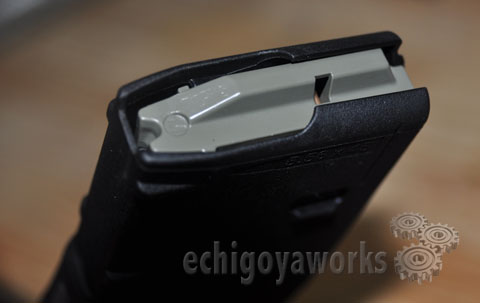
Remove the bottom cap

Then you can discard the spring and the round follower, but keep these three parts, you will need them later on.

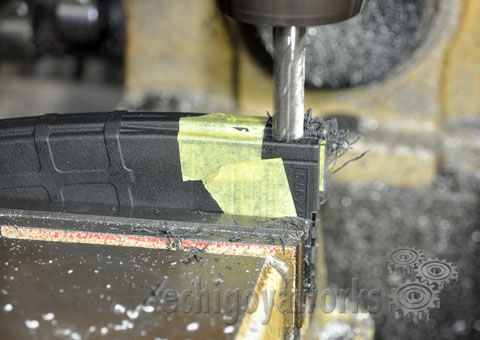
Mark where you will make the trims, good thing about the magpul there is a line that will help guide you. You will make the cuts a few mm above this line. Also take note where the trim will make and make a higher trim on it as shown where the masking tapes are.

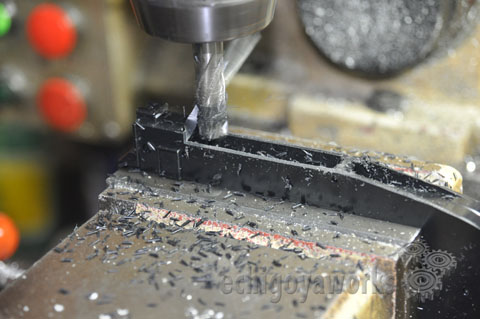
Fisrt part cutting of the mag using a vertical machine.


Second part cutting.


Third part cutting (back side)....


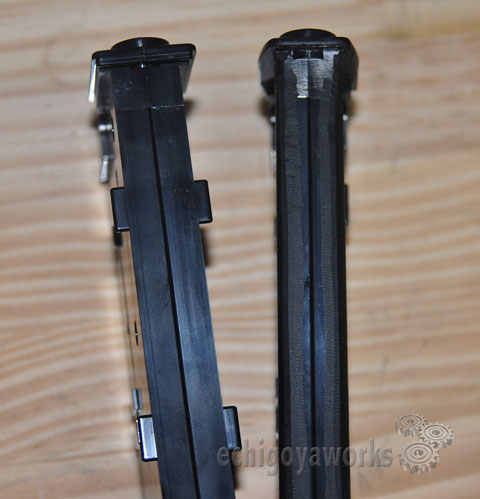
To look like this (as shown already fitted with the TM internals)

Using a dremmel, try to flatten out the foremost part of internal ribs on the mag as shown (include the internal sides)


Now we go the TM Magazine internals
We need to turn it as shown below, from the right to the left. Using a vertical machine and a dremmel.

Trim the flaps as shown below (from the left to look like on the right
Trim the underside of the lip

To become like this

As shown fitted in the mag


Now trim the back part

Remove this protruding part (also on the front side - no pic)
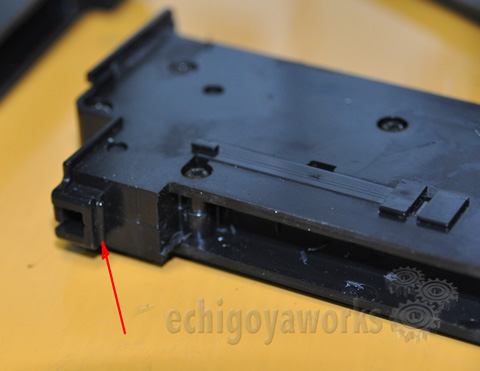
Use a dremmel to trim the corners on this side (shown by the 2nd arrow) and also on the bottom. The purpose of this is to take the shape of the polygonal shape of the Pmag.
Now trim the bottom plate of the mag about 3-5 mm (this will depend on the fitting of the internals when you insert it)

Now start assembling everything.
From here, it will now be a trial and error fitting and testing.
This tutorial was made by our professional engineers and we will be not be responsible for damage to your equipement if you follow this tutorial.
Hope you make it, let us know if did it. If you have questions or discovered something to make this easier let us know.
NEWS ARCHIVES

Following is the step by step process on how we convert a real PMAG magazine to fit into an airsoft AEG specifically the recoil shock series. By using the internals of a Tokyo Marui magazine and months of trial and error we were able to accomplish the task… Mission Impossible? Not in our shop!
The Real PMag


Remove the bottom cap

Then you can discard the spring and the round follower, but keep these three parts, you will need them later on.

Mark where you will make the trims, good thing about the magpul there is a line that will help guide you. You will make the cuts a few mm above this line. Also take note where the trim will make and make a higher trim on it as shown where the masking tapes are.

Fisrt part cutting of the mag using a vertical machine.


Second part cutting.


Third part cutting (back side)....


To look like this (as shown already fitted with the TM internals)

Using a dremmel, try to flatten out the foremost part of internal ribs on the mag as shown (include the internal sides)


Now we go the TM Magazine internals
We need to turn it as shown below, from the right to the left. Using a vertical machine and a dremmel.

Trim the flaps as shown below (from the left to look like on the right

Trim the underside of the lip

To become like this

As shown fitted in the mag


Now trim the back part


Remove this protruding part (also on the front side - no pic)

Use a dremmel to trim the corners on this side (shown by the 2nd arrow) and also on the bottom. The purpose of this is to take the shape of the polygonal shape of the Pmag.
Now trim the bottom plate of the mag about 3-5 mm (this will depend on the fitting of the internals when you insert it)

Now start assembling everything.
From here, it will now be a trial and error fitting and testing.
This tutorial was made by our professional engineers and we will be not be responsible for damage to your equipement if you follow this tutorial.
Hope you make it, let us know if did it. If you have questions or discovered something to make this easier let us know.
NEWS ARCHIVES

