2011年11月14日
Magpul PRS Battery Modification

This guide is how to fit a battery inside the Magpul PRS Buttstock
In order to do this you must have the proper equipment, and we advise that you do this at your own risk. Also make sure that your receiver is strong enough to take load of the stock and hard enough take threading tools. I strongly won’t recommend using Tokyo Marui receivers, their metal is only diecast and it is not rigid enough to handle and keep the buttstock in place.
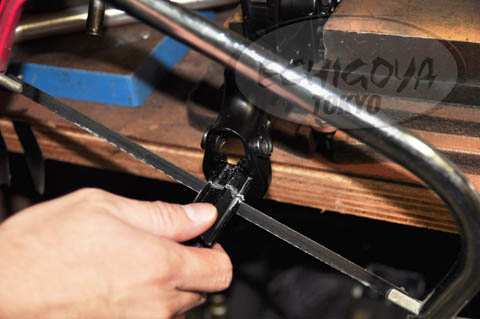

1. Cut the upper receiver’s pipe for the stock pipe about 1inch or 1.5 inch (3 cm.). Use sandpaper or dremmel to dull the sharp edges.

2. Then cut the stock pipe leaving only about 2 inches (5-6 cm.). Again use sandpaper or dremmel the sharp edges.
3. Attach the stock pipe to the receiver using the bolt the same way as you attach it the before (use a nut for attachment if you removed the gearbox).
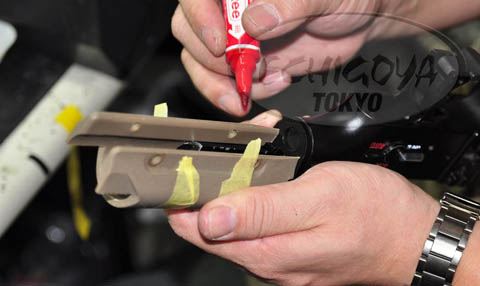
4. Detach the upper part of the stock by removing the two screws that holds the sling attachment then slide it into the stock pipe. Make sure that you align it properly (x-y). Then mark the spot for the screw, take note of the angle (about 45%). This will connect the stock – to the stock pipe – to the receiver.
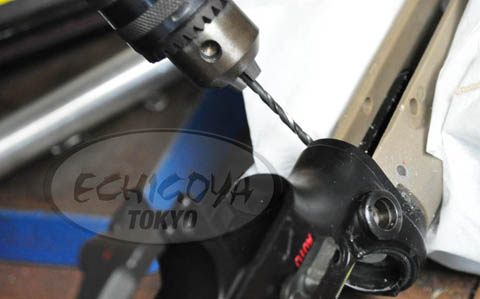
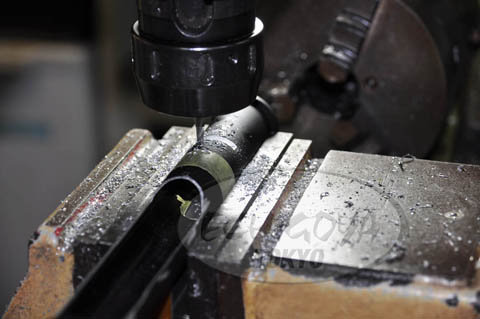
5. Then use a metal drill to create a hole, we used a 4mm drill bit. Again take note of the angle, make sure your hole will go through the receiver. Again, I don’t have to remind you that when drilling, make sure that your receiver is stable and it won’t move.

6. Then use a 4mm “threader bit” also known as “top” to create the thread in the hole you made. (Again, stability is very important, you do not want misaligned threads.) In removing the threader, don't use your power tools, unscrew it manually and carefully, avoiding to do damage on the threads.

7. We use socket screw types on both sides. You can also use other types of screws, depends on your preference.

8. This is how it should look like when you are done. All you have to do is reassemble and slide the rest of the Magpul PRS stock back in place.

In the photo above, I was able to create a space with room enough for a lipoly battery together with a burst control mosfet. This is for my 3-round burst sniper rifle.


Dura Coat Finishes
P90 Disassembly
MP5K Disassembly
H&K UMP Gearbox ver. 3
M4A1 AEG Disassembly
Gearbox Reassembly
P90 Disassembly
MP5K Disassembly
H&K UMP Gearbox ver. 3
M4A1 AEG Disassembly
Gearbox Reassembly
Posted by echigoyaworks
at 15:00
│DIYs

